Introduction
This document provides steps on how you can use the NFR (Not for Resale) subscription key for enabling metering configurations.
The ASM (Account Service Manager) will have the NFR subscription key to enable access to the Flex metering services.
Below are the subscription types and their purpose:
- NFR: Exclusive for metering.
There are two ways to work with the NFR subscription key:- Request the key from the ASM: The ASM will provide the NFR subscription key upon request, which will be used for enabling metering configurations.
- Invite the ASM to enter the key: You will have to invite the ASM through the Invite User steps so that they can enter the subscription key directly.
- OpsRamp Hybrid Observability subscription key: This is a paid service license key. Use this key to enable Hybrid Observability features that include GreenLake Flex metering solution.
Create a workspace
The initial step in enabling the metering service is to create a dedicated workspace.
Follow the steps mentioned in Creating Workspace to create a workspace.
Provision NFR key
Follow these steps to provision the NFR key:
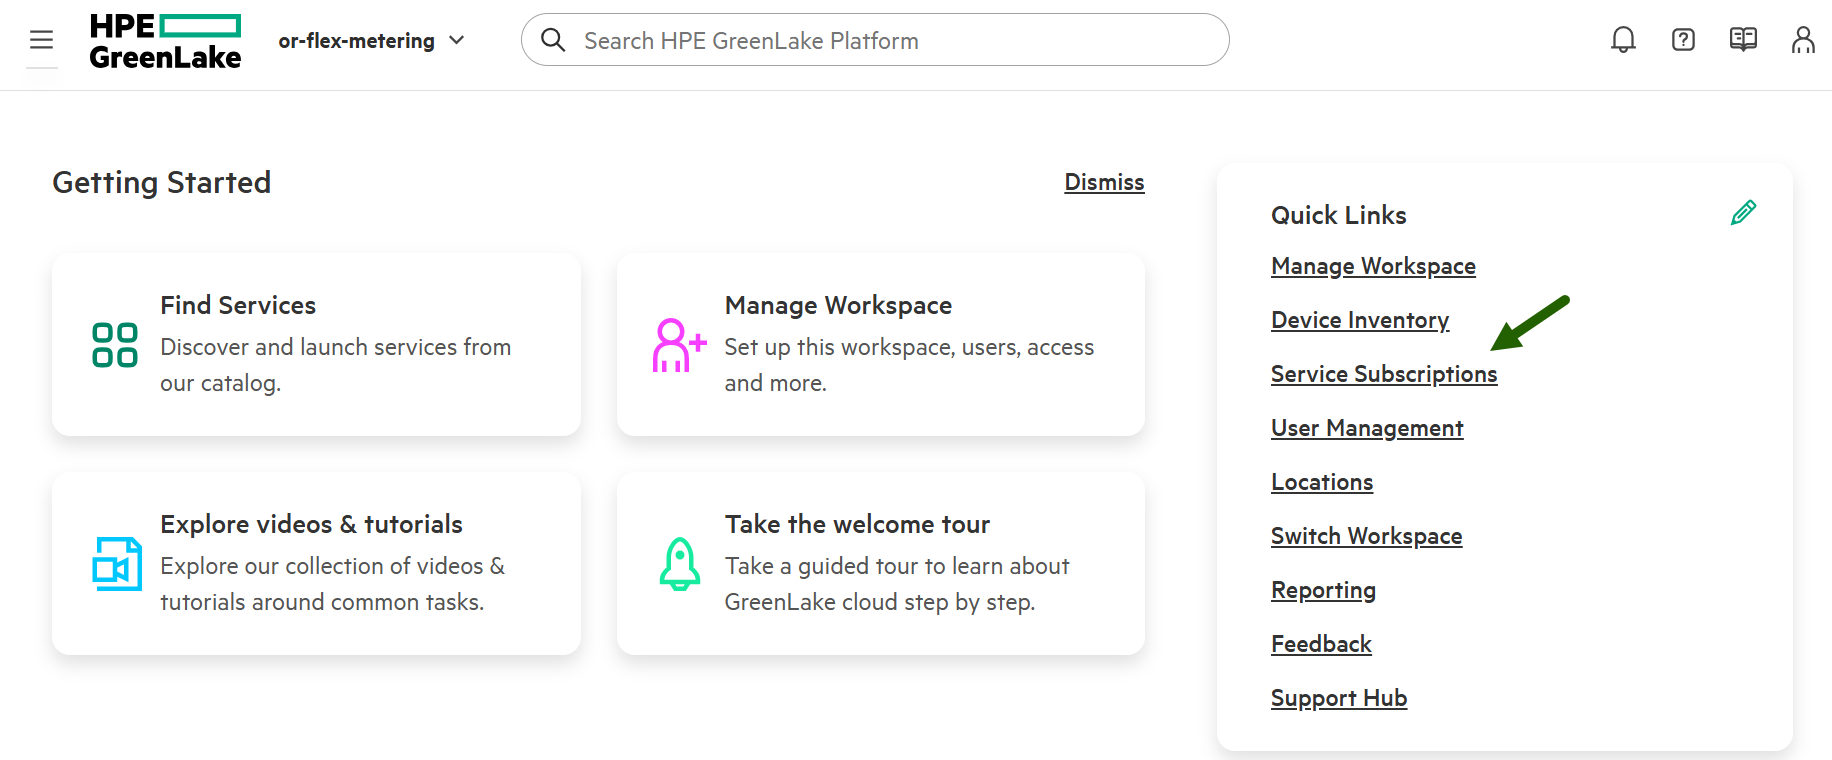
- Sign in to HPE GreenLake platform.
- From the Quick Links section, click Service Subscriptions.
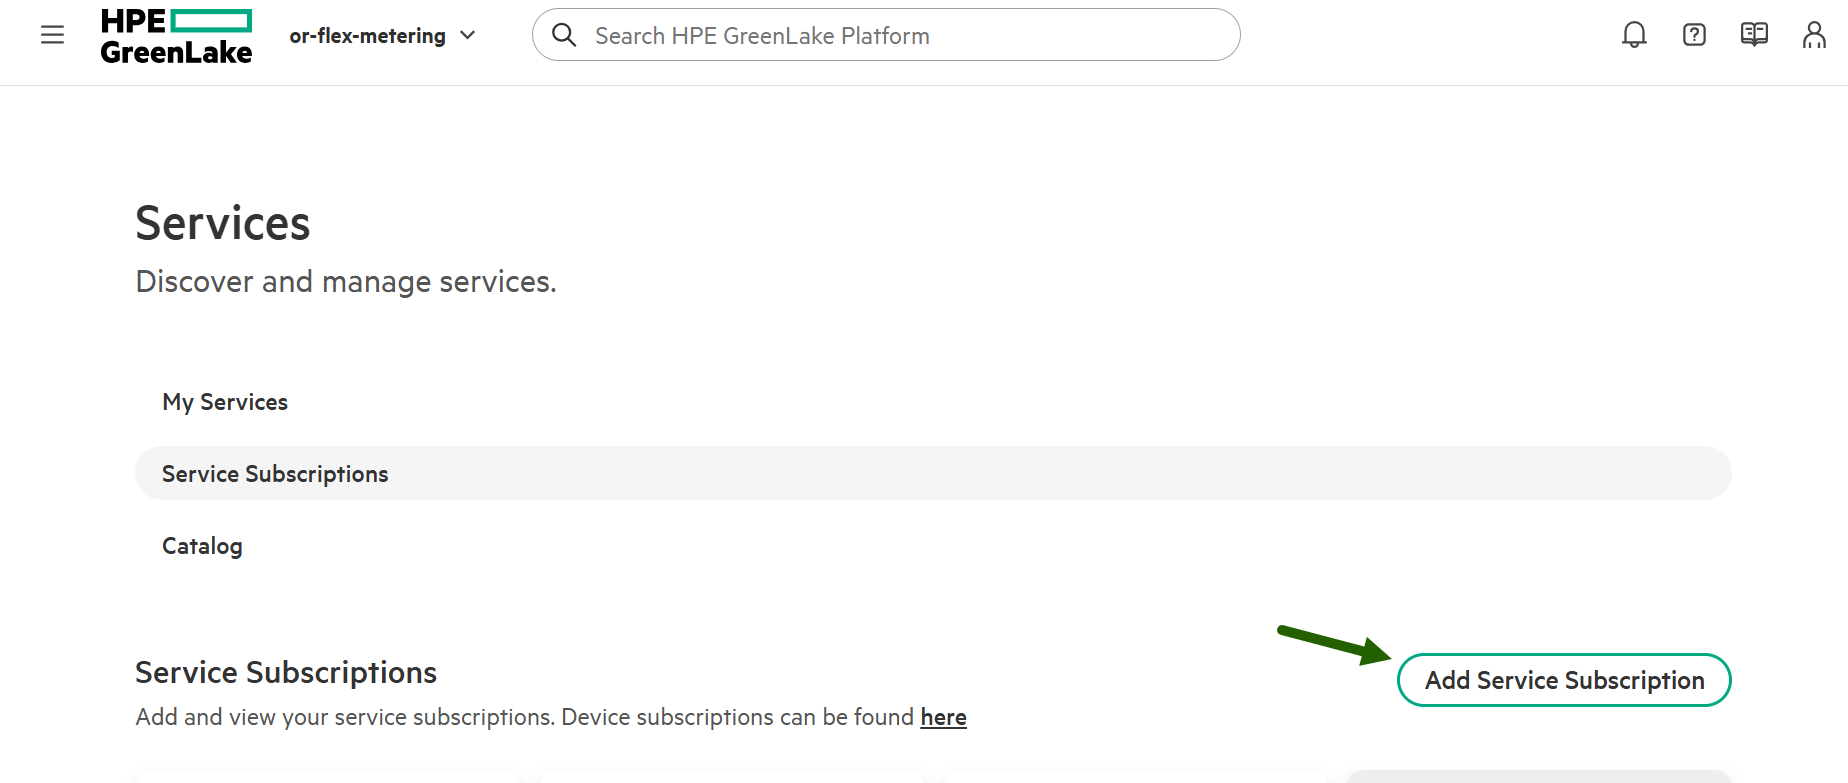
- In the Service Subscriptions section click Add Service Subscription.
- Enter the Subscription Key and click Add.
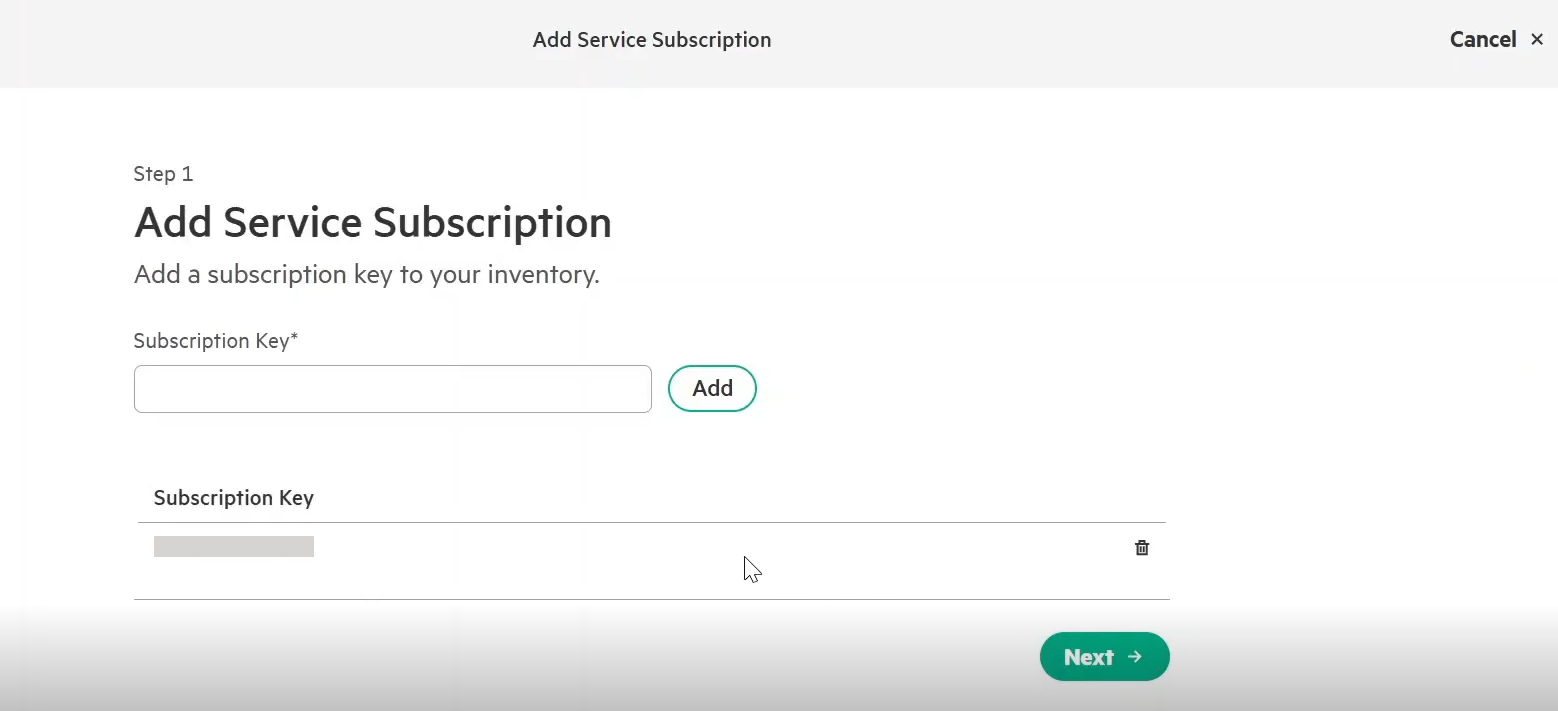
The key is assigned and the details are displayed.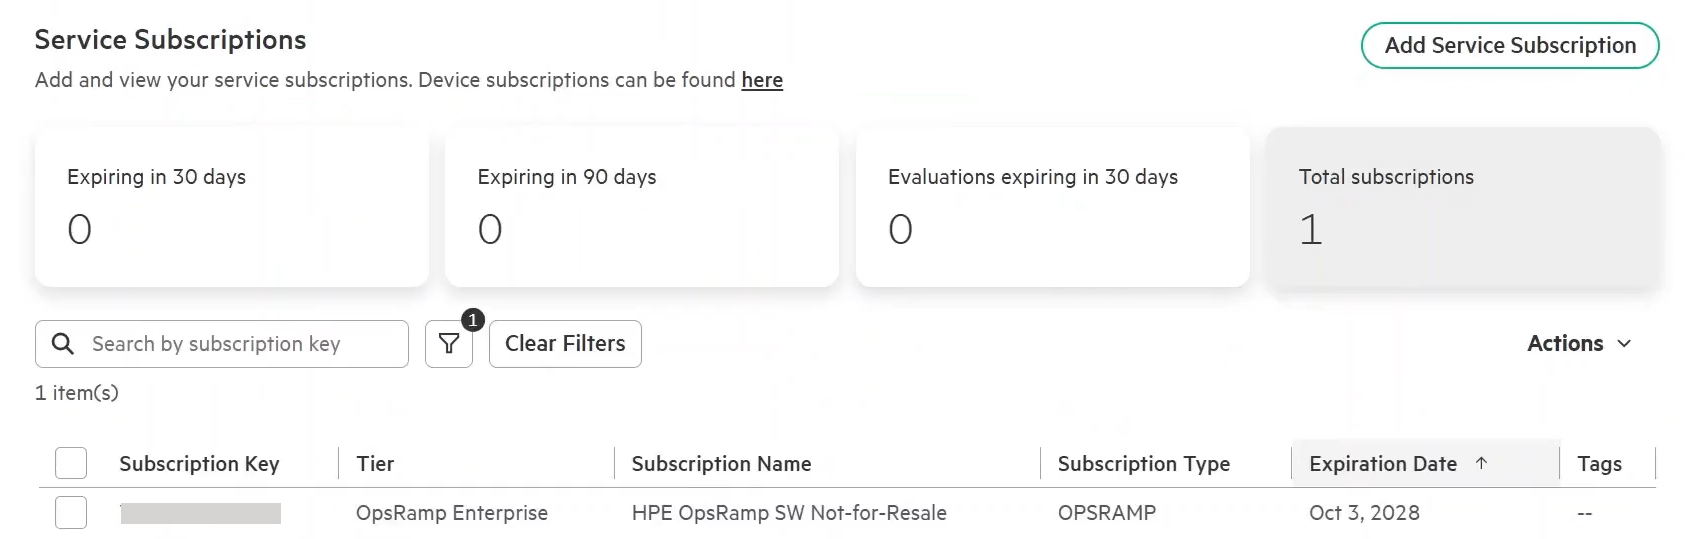
Provision service for metering
Follow these steps to provision a service in a specific region:
- From the Services page, click Catalog and enter OpsRamp in the Services Catalog search box.
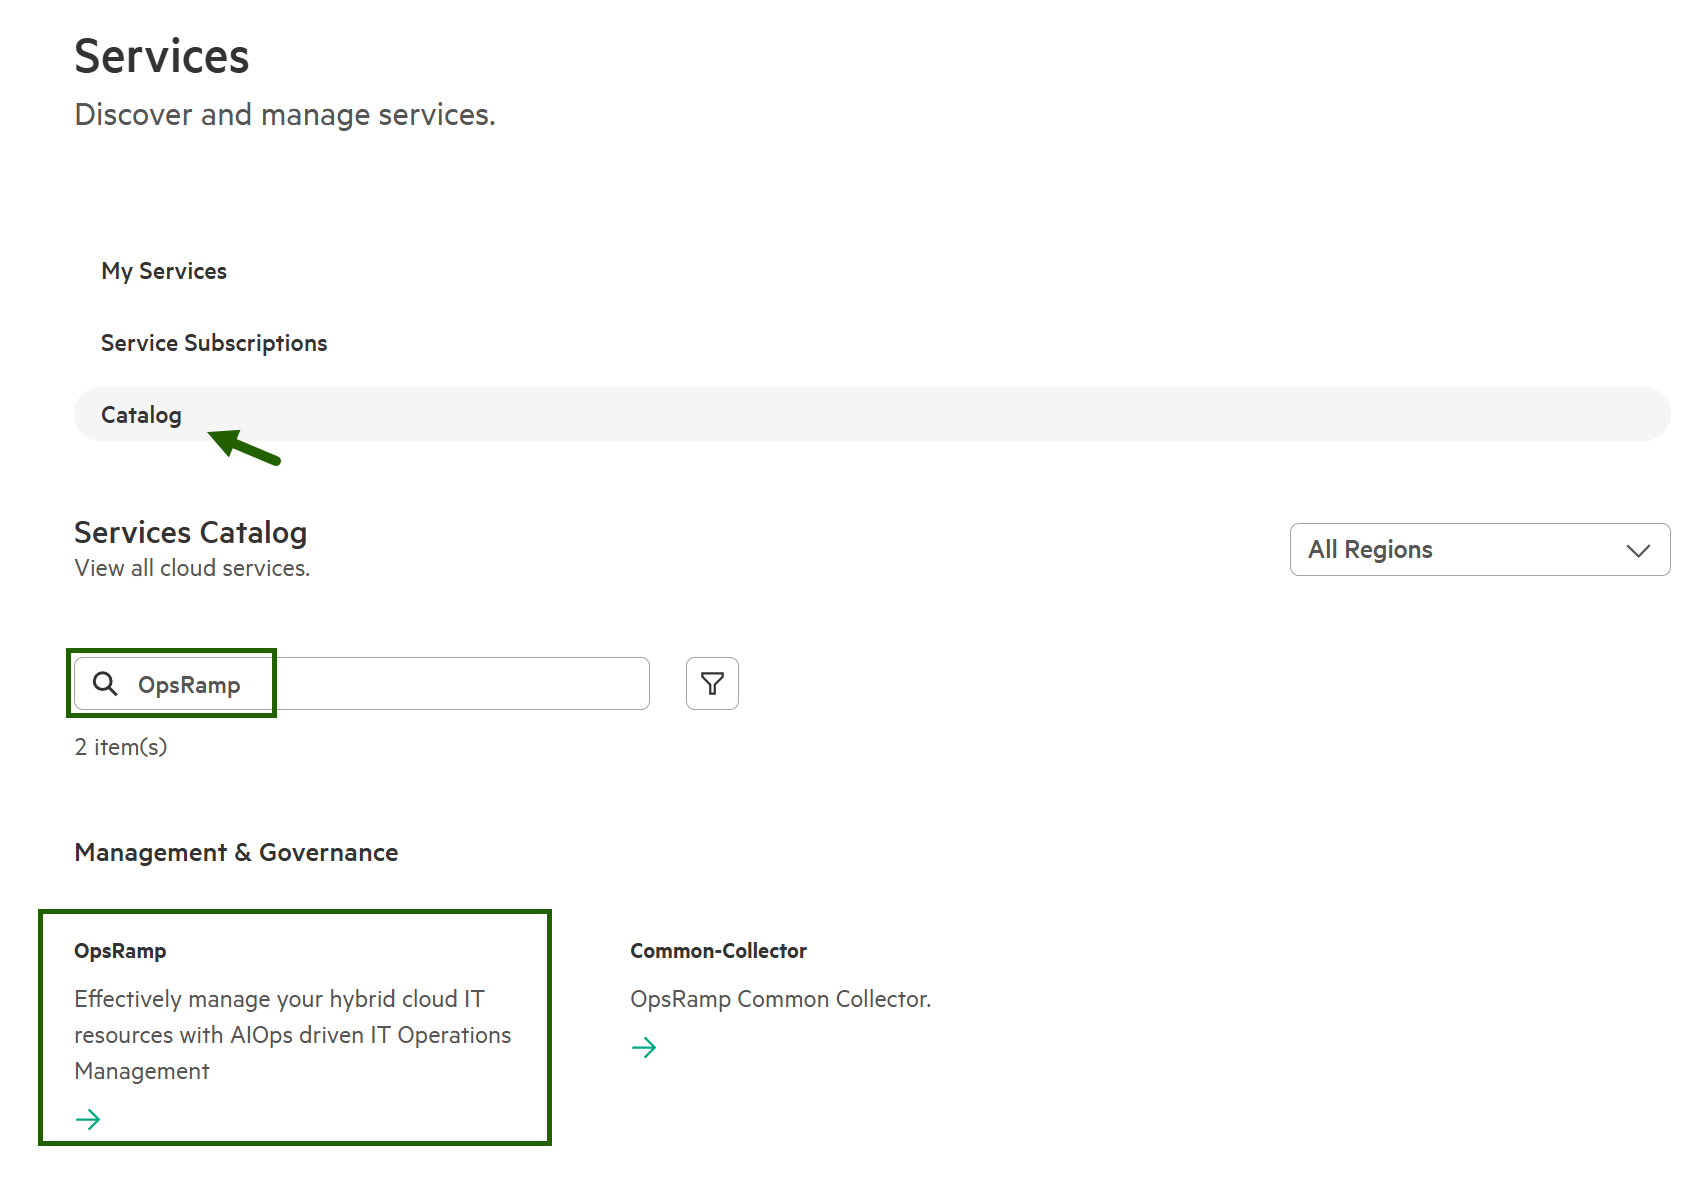
- Click OpsRamp under Management & Governance category.
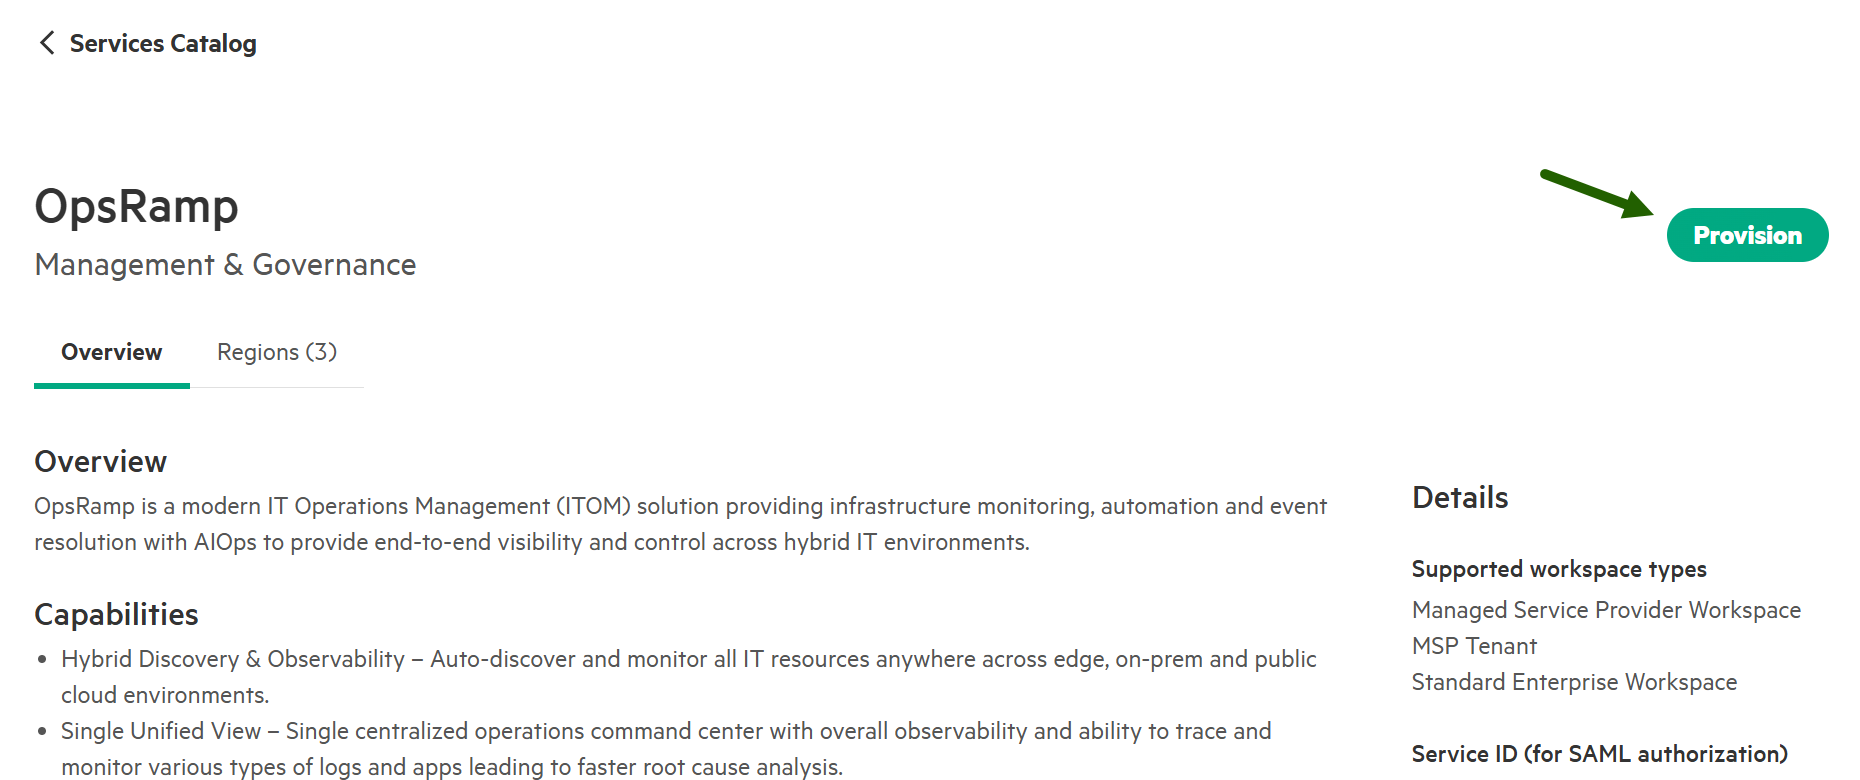
- Click Launch to launch OpsRamp.
- Select a deployment region, select the checkbox to agree to the Terms of Service, and click Deploy.
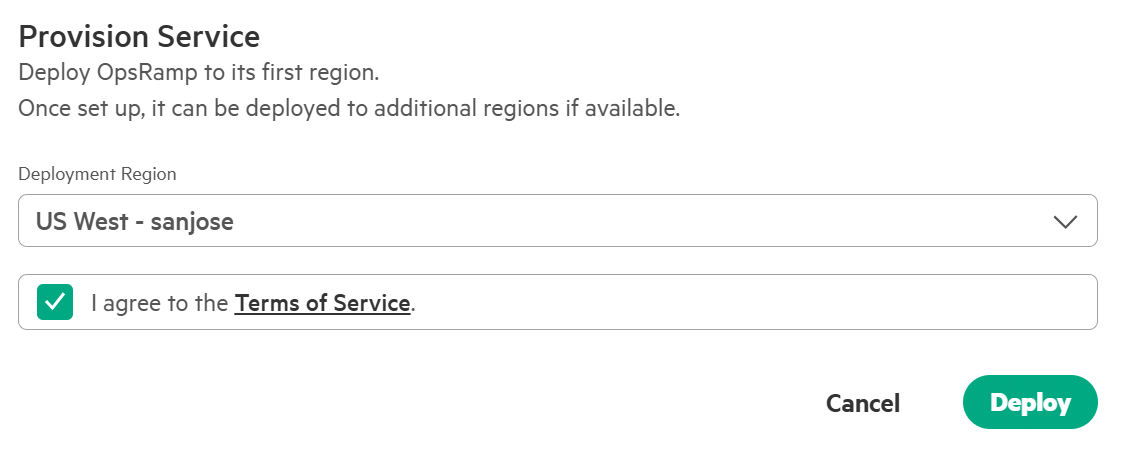
- The region(s) for the service are added.
Assign roles to access OpsRamp service
Once the OpsRamp service is deployed, you can assign standard roles to the user(s) to access the service.
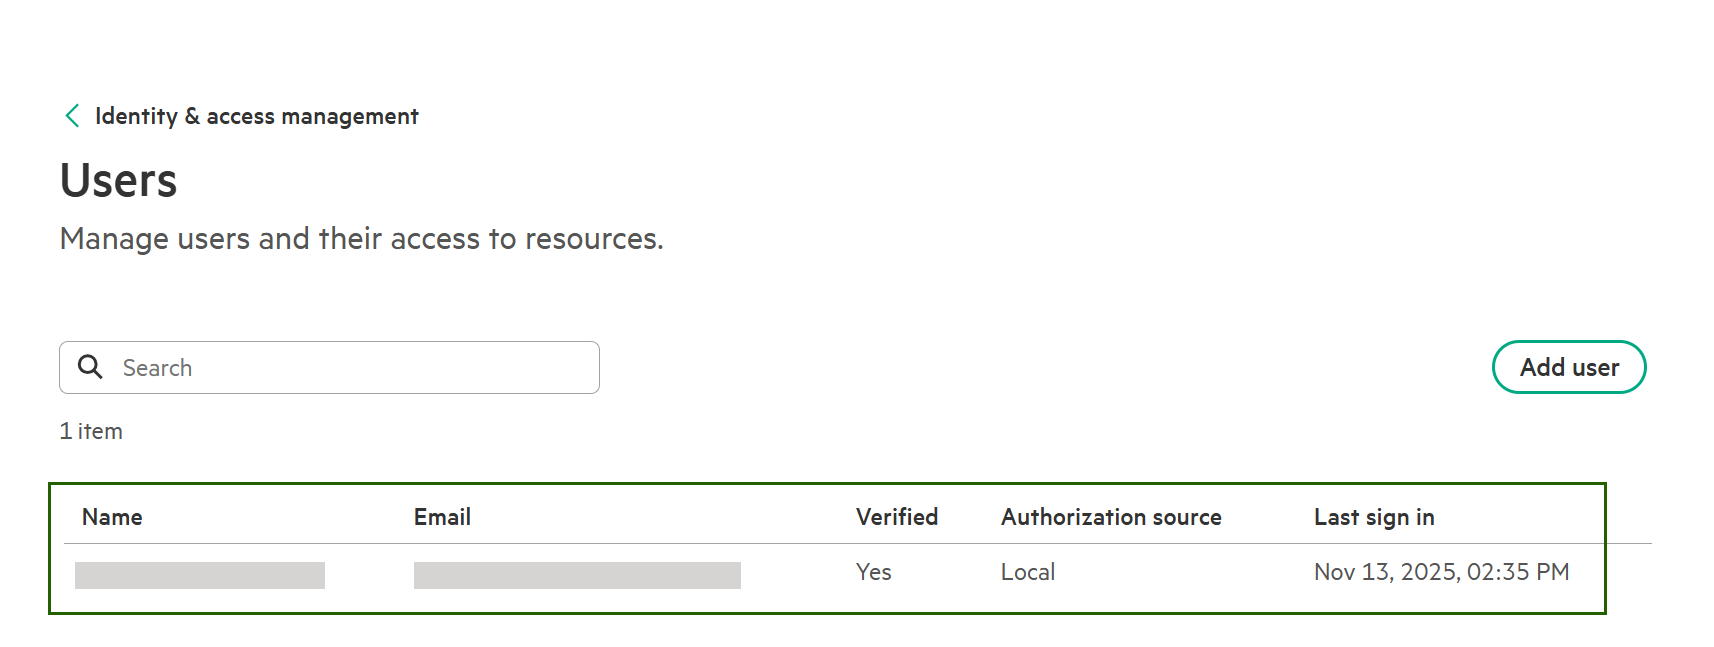
- Click User Management link in the Quick Links section.
- From Users page, select the user.
- Click Actions and select Assign Role.

- From the Assign role slide-out select the role as OpsRamp Administrator and scope as Entire workspace.
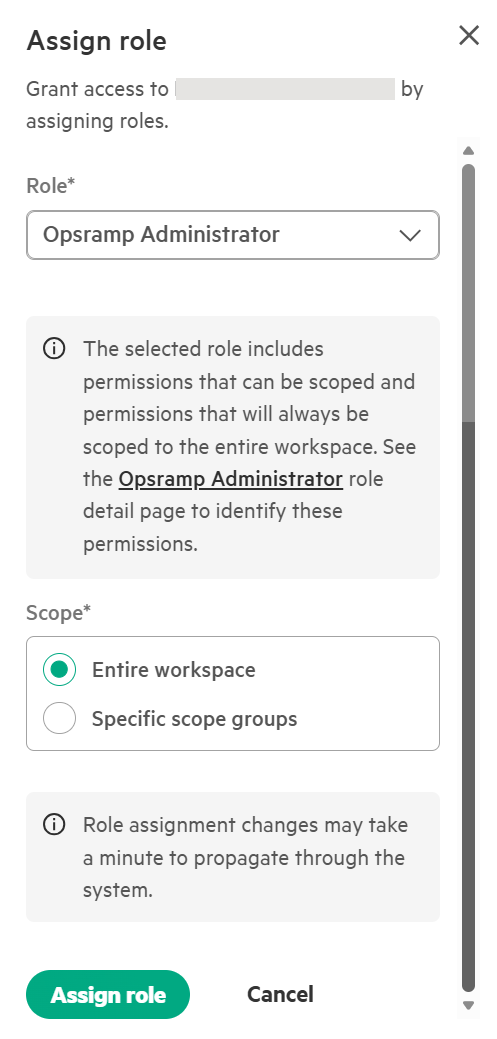
- Click Assign role. The role is assigned and a confirmation message appears.
Note: Best practice is to have at least two Workspace Administrators.
Launch OpsRamp
Once the role has been successfully assigned, you can proceed to launch OpsRamp.
Follow these steps to launch OpsRamp:
- Click the ellipsis (hamburger) icon at the left-top corner of the page and select Services → OpsRamp.

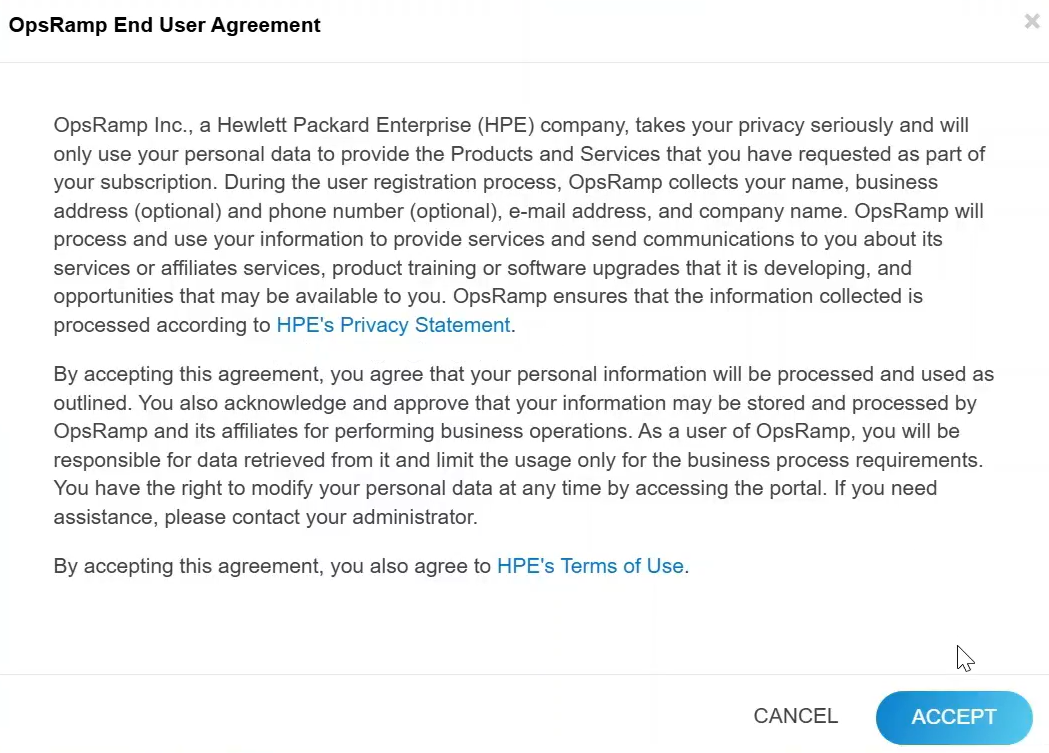
- Read the OpsRamp End user agreement and click ACCEPT.
- The OpsRamp service is launched, displaying the default dashboard, which provides an overview of the OpsRamp platform.
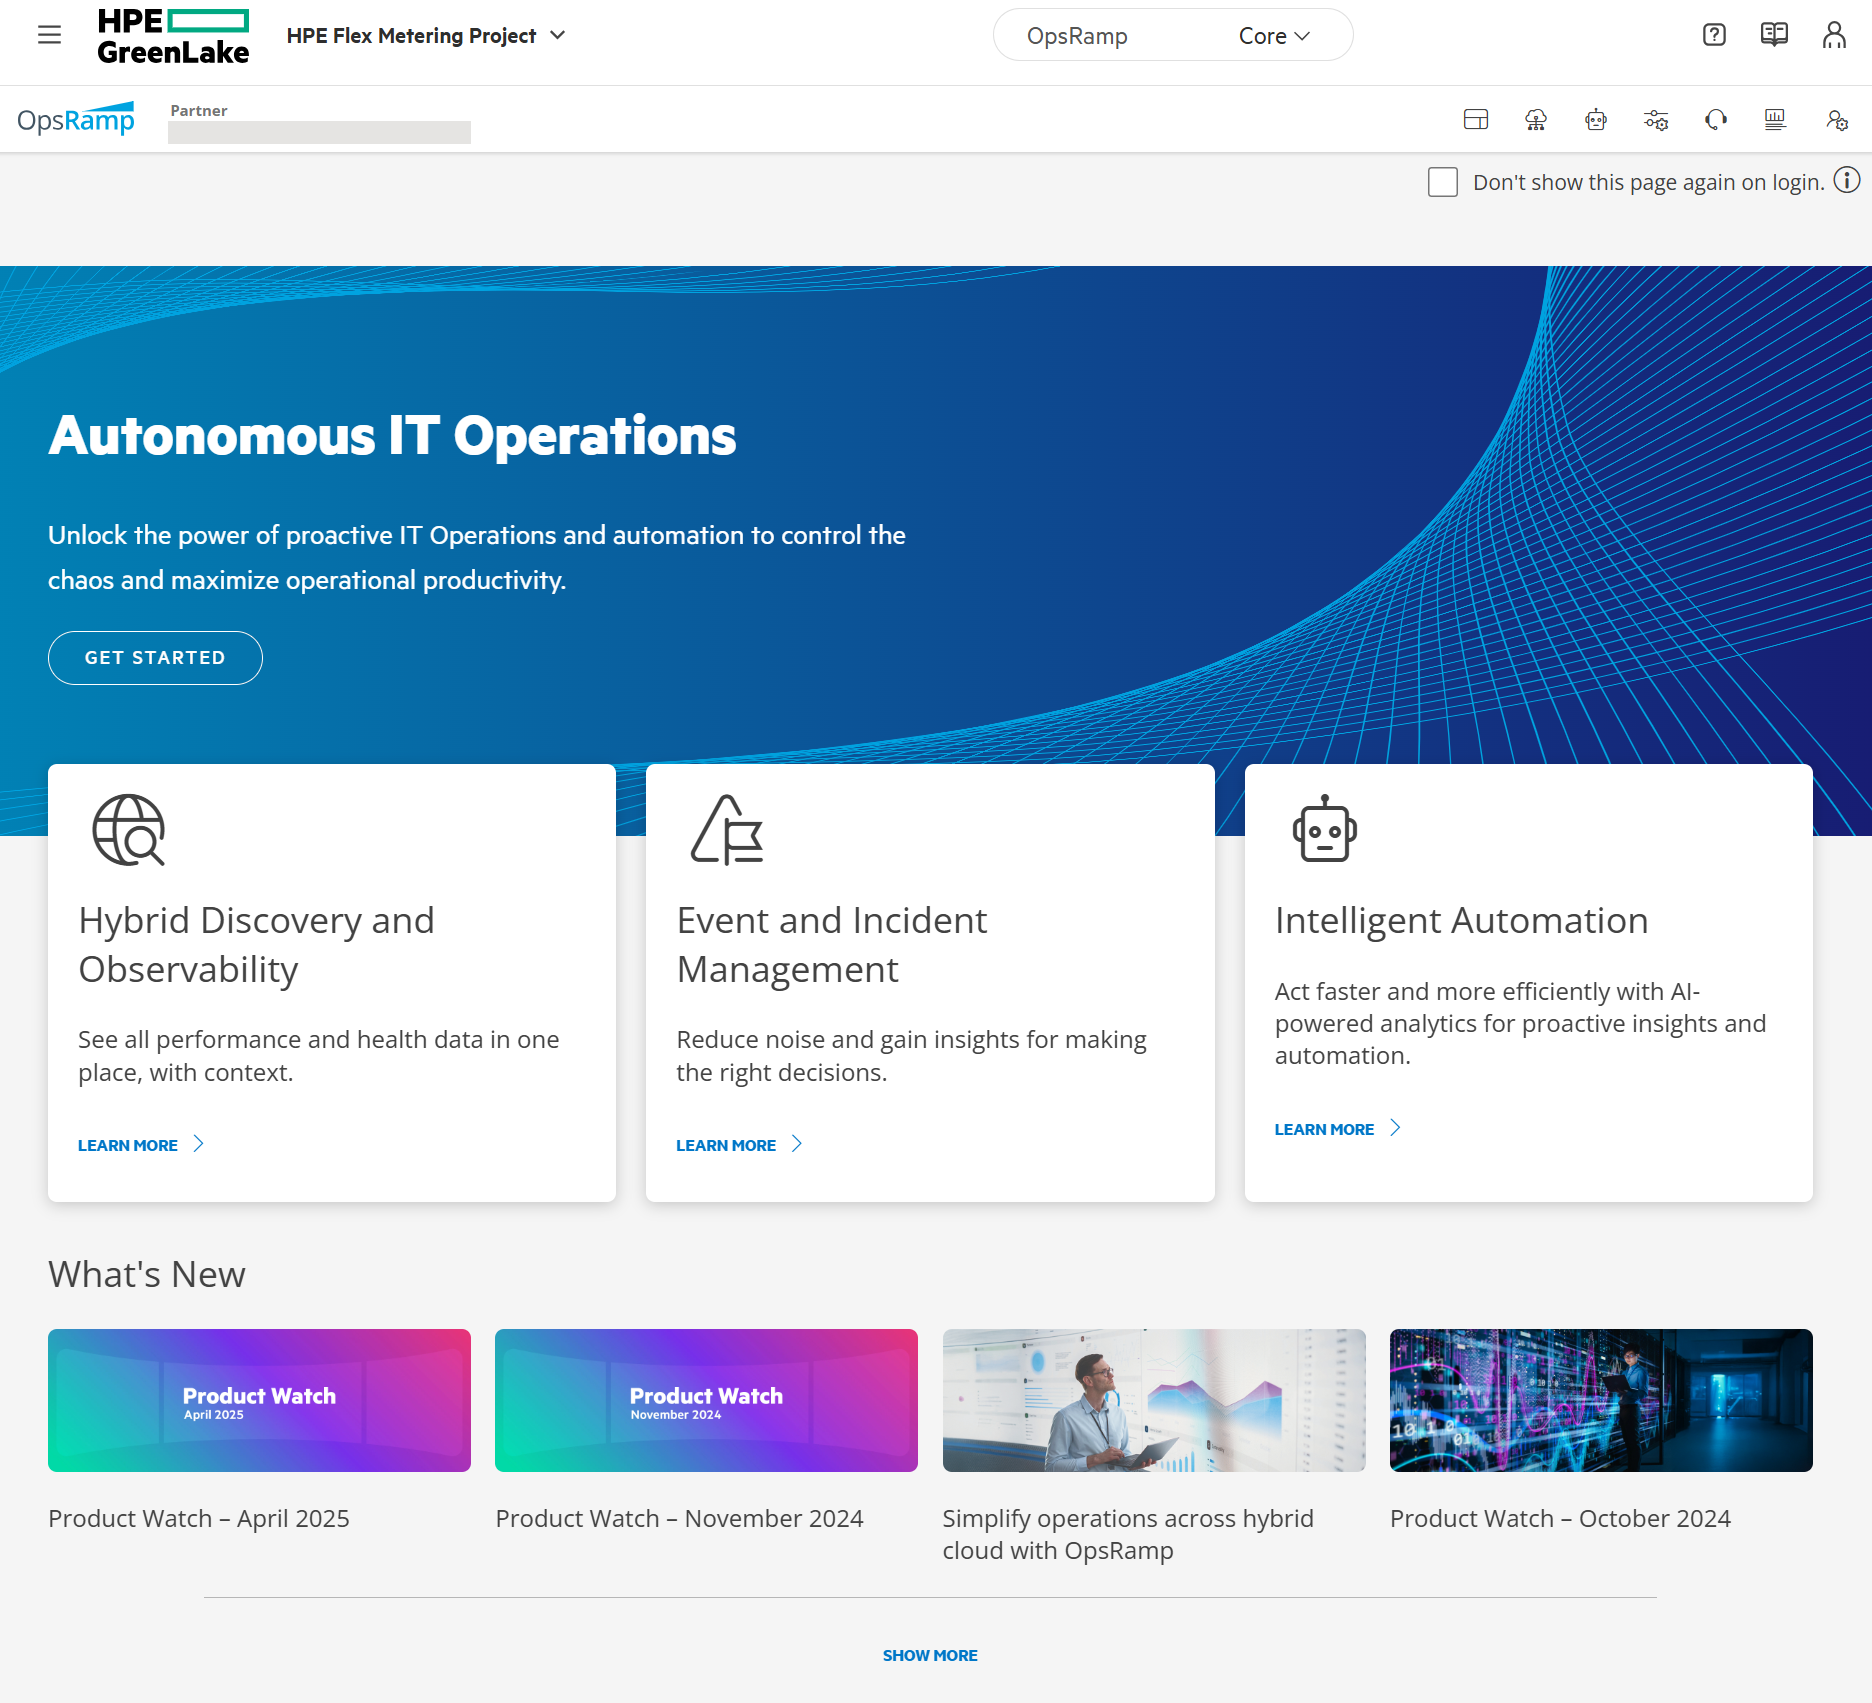
You can see the workspace created.
Note: Verify that the Global policies for Non-SDK resources option is enabled.
This ensures that metering applies to resources that do not use SDK integrations, providing comprehensive coverage for usage tracking.
Examples of Non-SDK resources: Physical servers or network devices, Virtual machines discovered through a hypervisor.