Introduction
Once you have purchased the HPE GreenLake Flex service, you are ready to begin your journey toward as-a-service model with cost-effective IT operations.
This section will walk you through the initial steps to access your account, set up your environment, configure Flex Metering, to monitor and manage your IT resource consumption. These foundational steps ensure that your infrastructure is properly connected and ready to deliver real-time usage insights.
Step 1: Access Your GreenLake Account
New Customer: If you are a new customer, see Getting Started guide for steps related to creating a new Workspace in the GreenLake platform.
Existing Customer: If you are an existing customer, follow these steps to access and set up your account:
- Once you have purchased the HPE GreenLake Flex service, you will receive an invitation via Email to your registered Email address. It will look something like this:
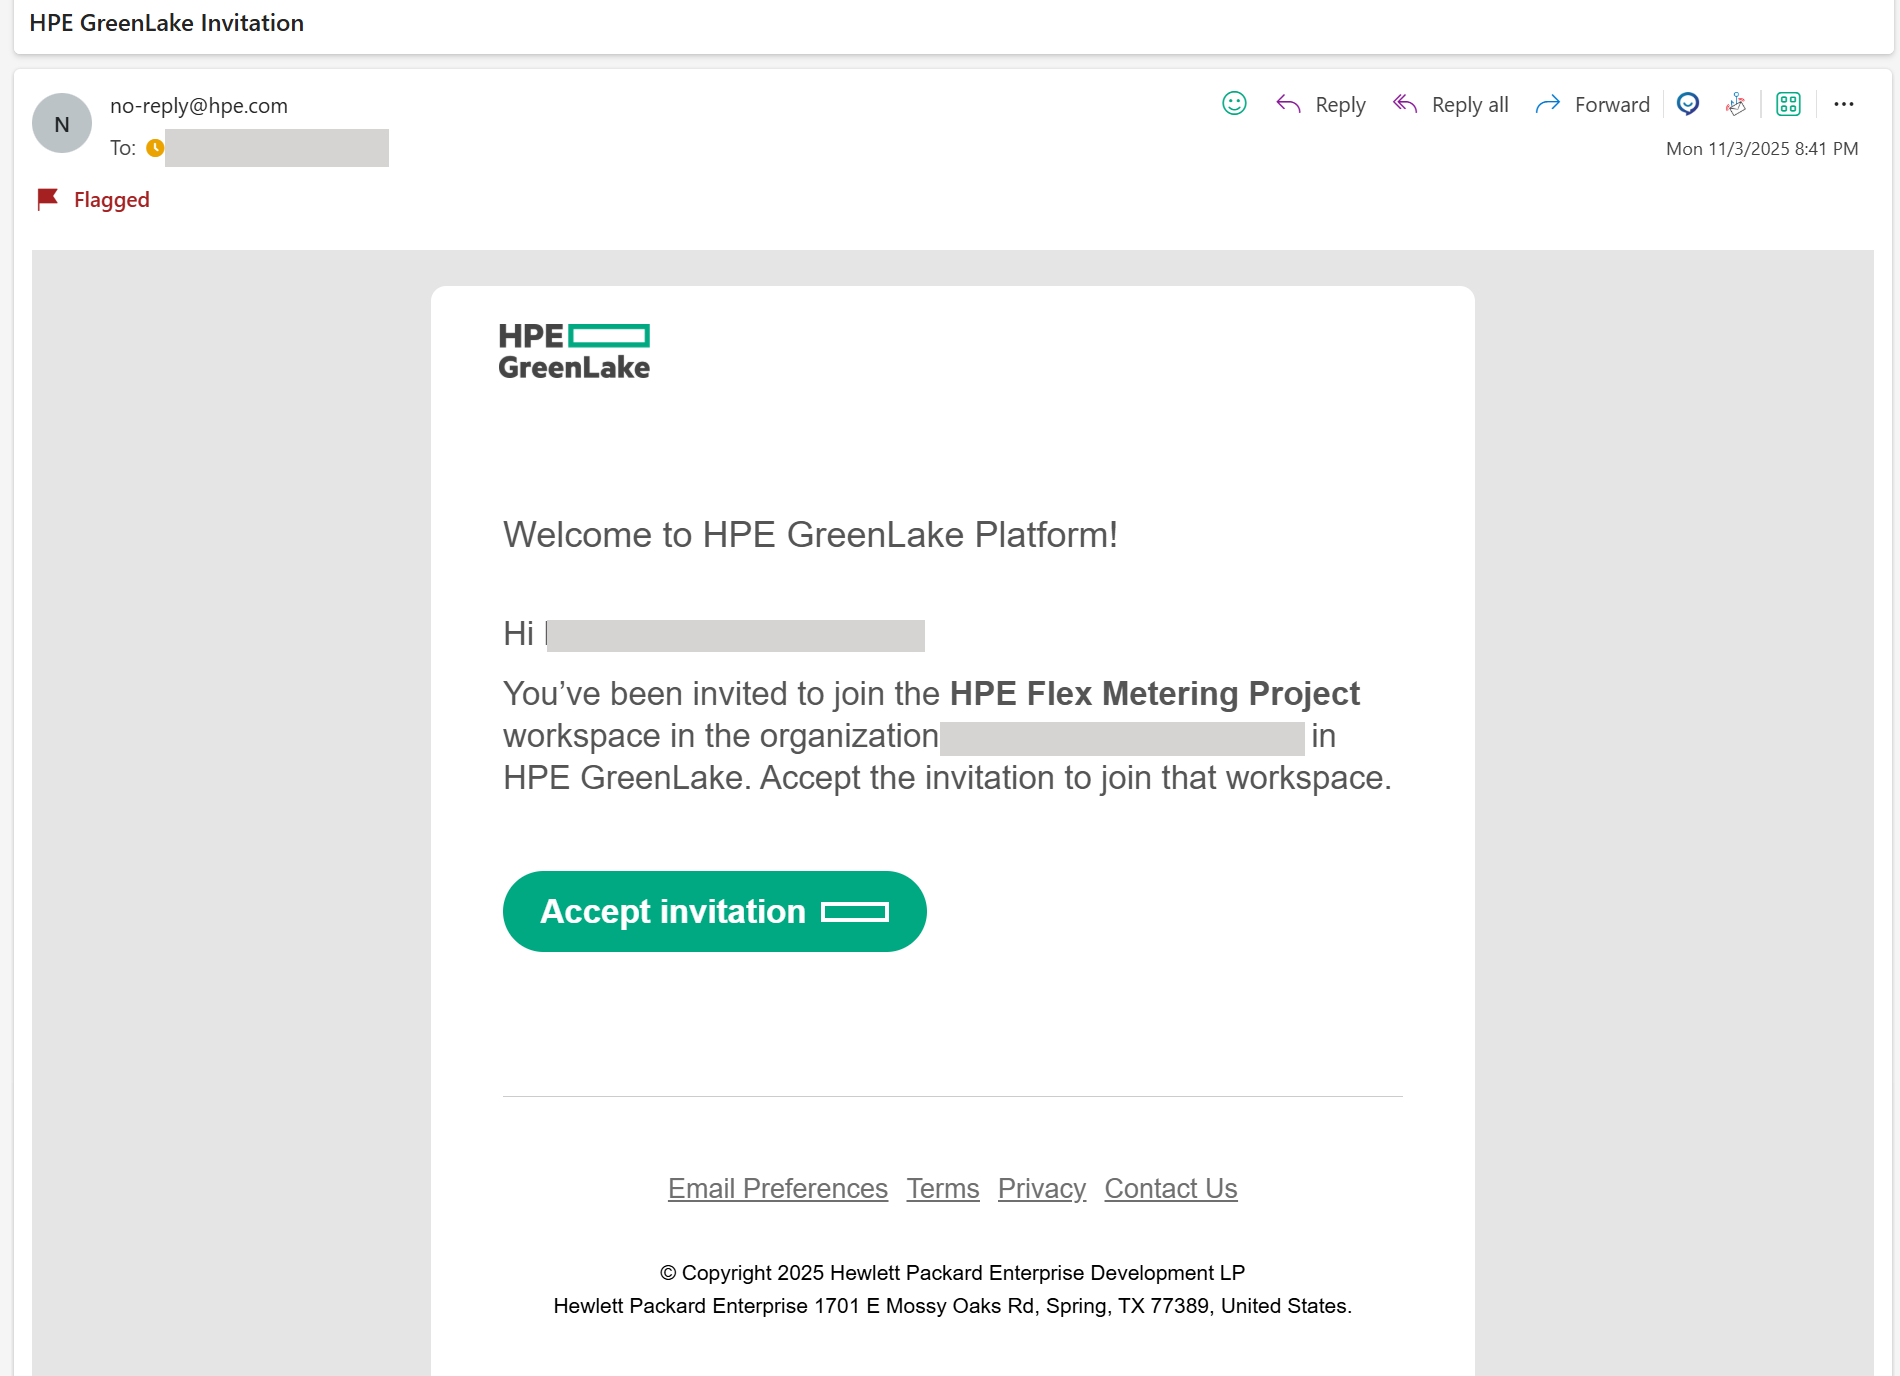
- Click Accept Invitation in the Email. The Sign In page is displayed.
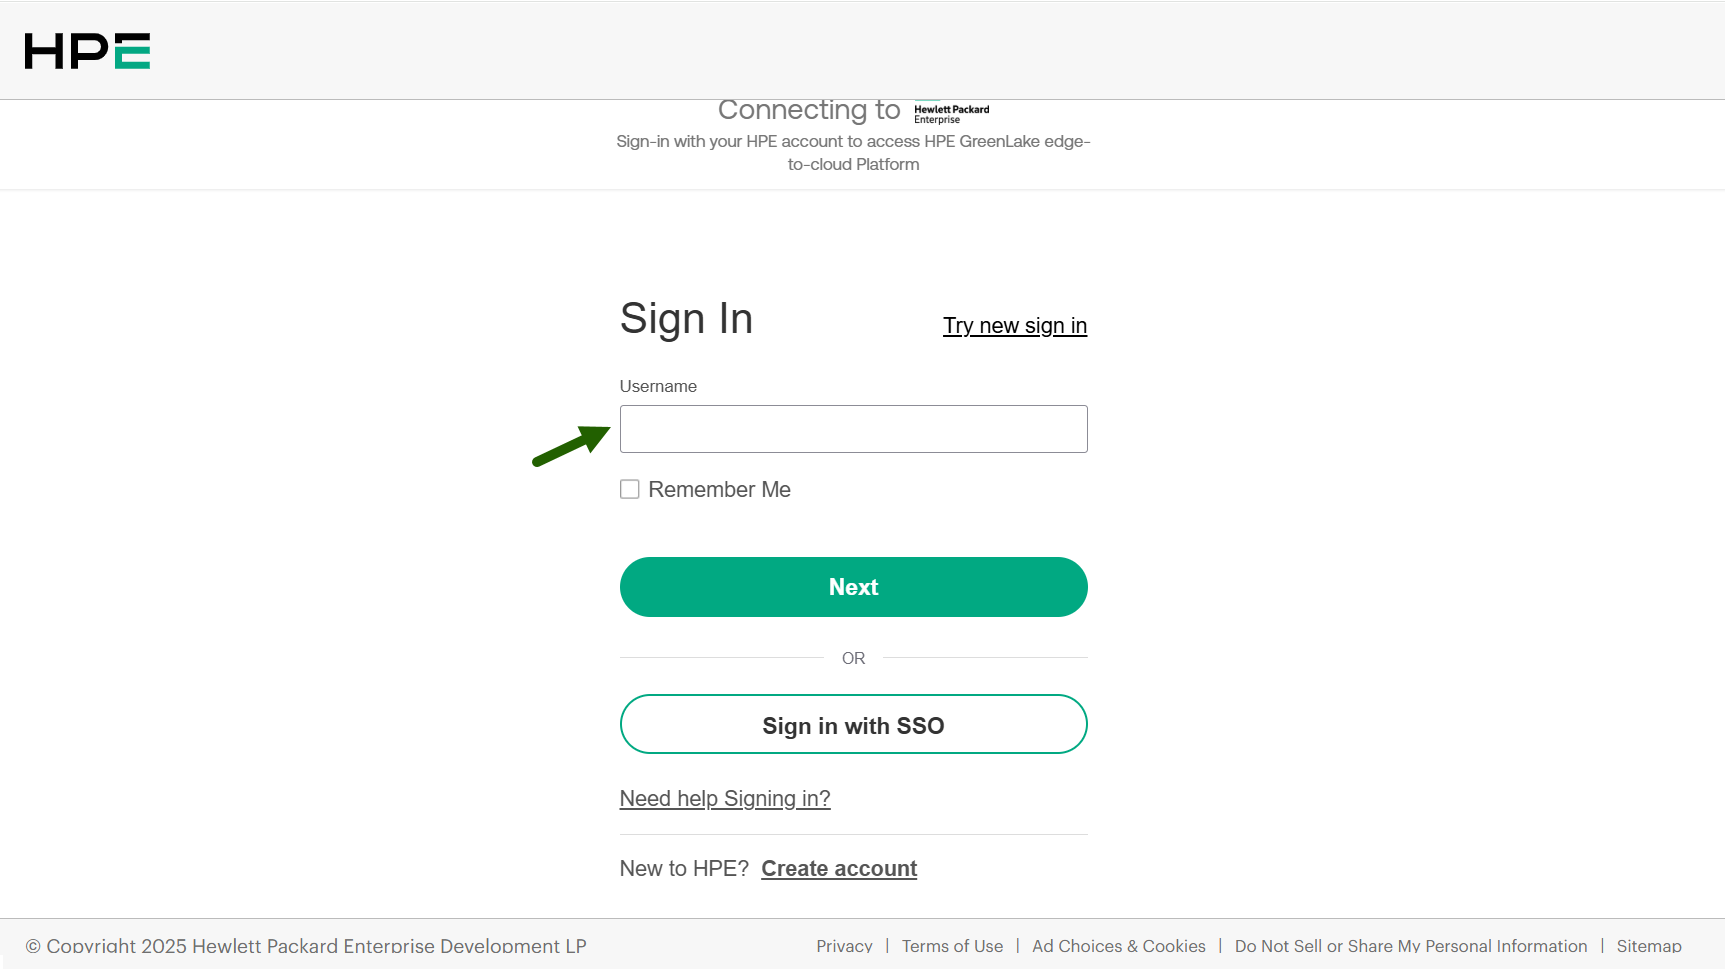
- Sign in using your Email address and click Next.
- Select one verification method and follow the steps. The HPE GreenLake workspaces page is displayed.
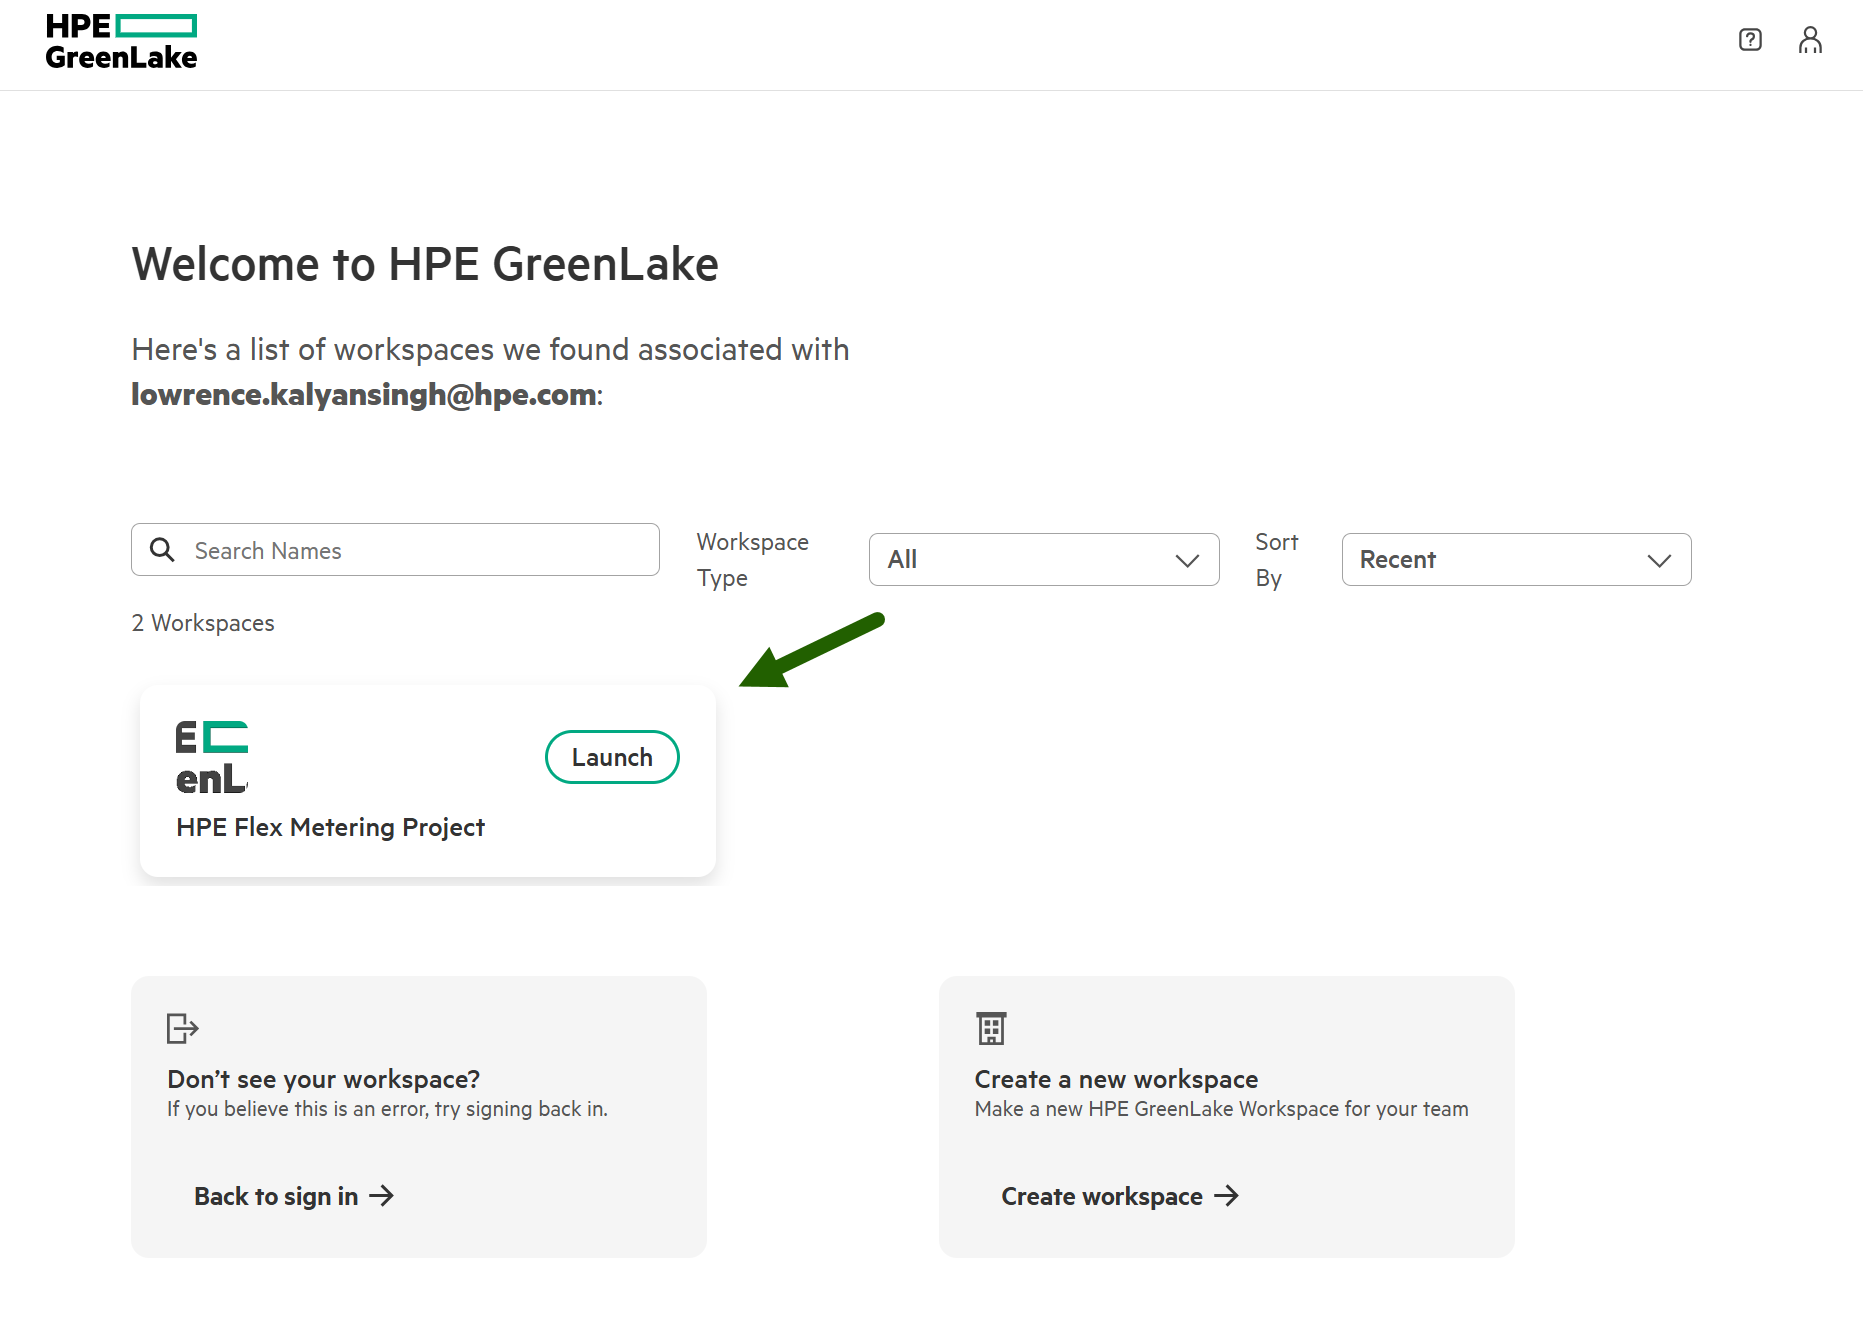
- Locate the card for your current HPE GreenLake Flex account and click Launch to launch the workspace.
- Once you have purchased the HPE GreenLake Flex service, you will receive an invitation via Email to your registered Email address. It will look something like this:
Step 2: Invite Users
You might need to invite users to the workspace. These users will essentially be the Workspace Administrators.
- Click User Management link in the Quick Links section.

- From the Users page, click Invite users.
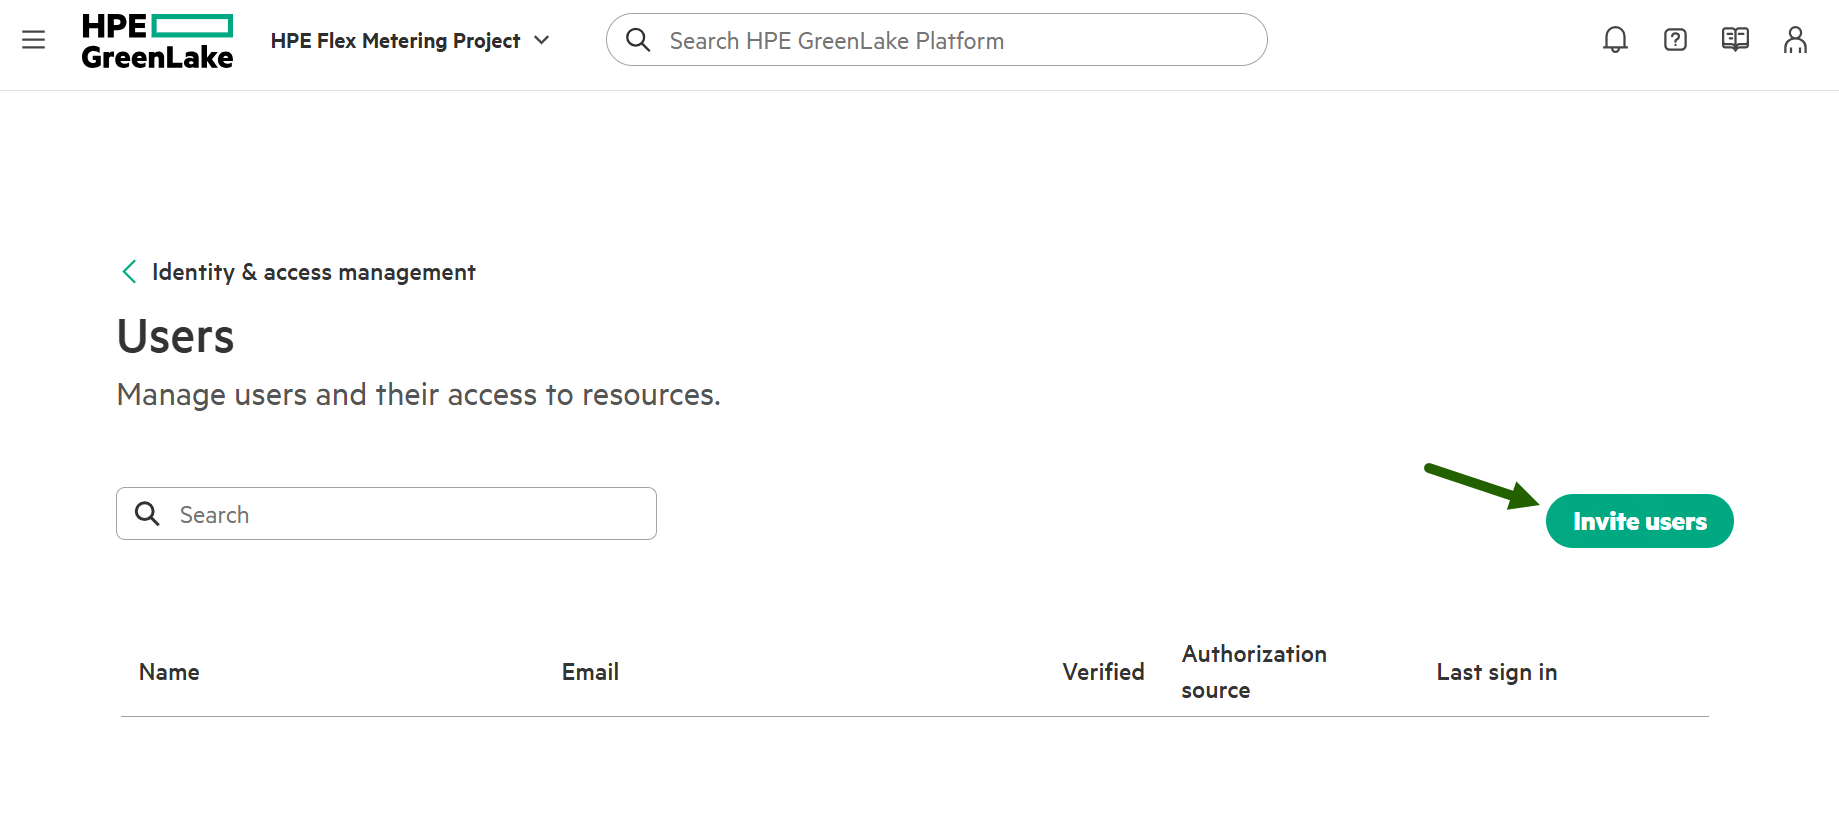
The Invite User slide-out appears. - Enter the Email address of the user and select an appropriate role (Workspace Administrator).
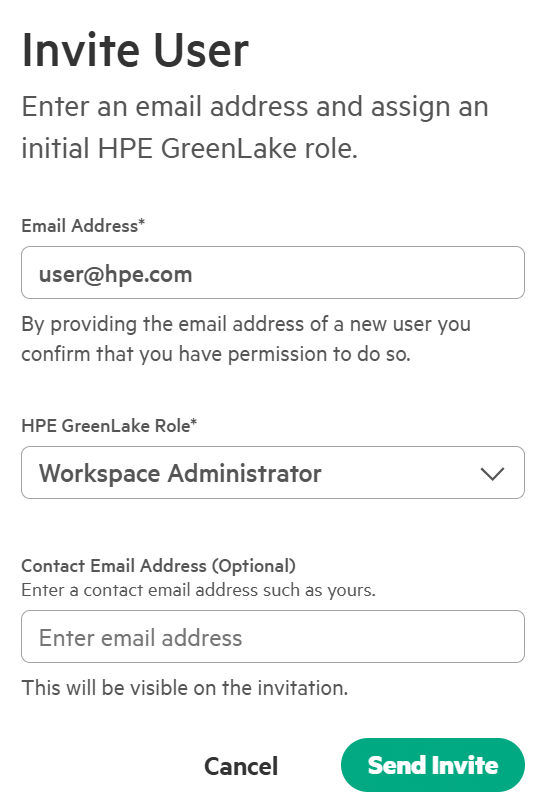
- Click Send Invite. An Invitation Email is sent to the user. The user creates an account and then activates it.