This guide describes how to install the OpsRamp Agent on an ARM (Advanced RISC Machine) processor.
Step 1: Install the Agent
Step 2: Choose connection type and download the Agent for 64-bit ARM processor:
Step 3: Install the Agent for:
Root User Agent
Default Non-root User Agent
Non-root Custom User Agent
Permissions
Following permissions required to install the Linux OS Integration:
Category
Permission Type
Permission Value
Account Administration
Devices
Create
Collectors
Manage Management Profile
View
Download the Agent
To select your client, navigate to All Clients, and click the Client/Partner dropdown menu. Note: You may either type your client’s name in the search bar or select your client from the list.
Navigate to Setup > Account. The Account Details screen is displayed.
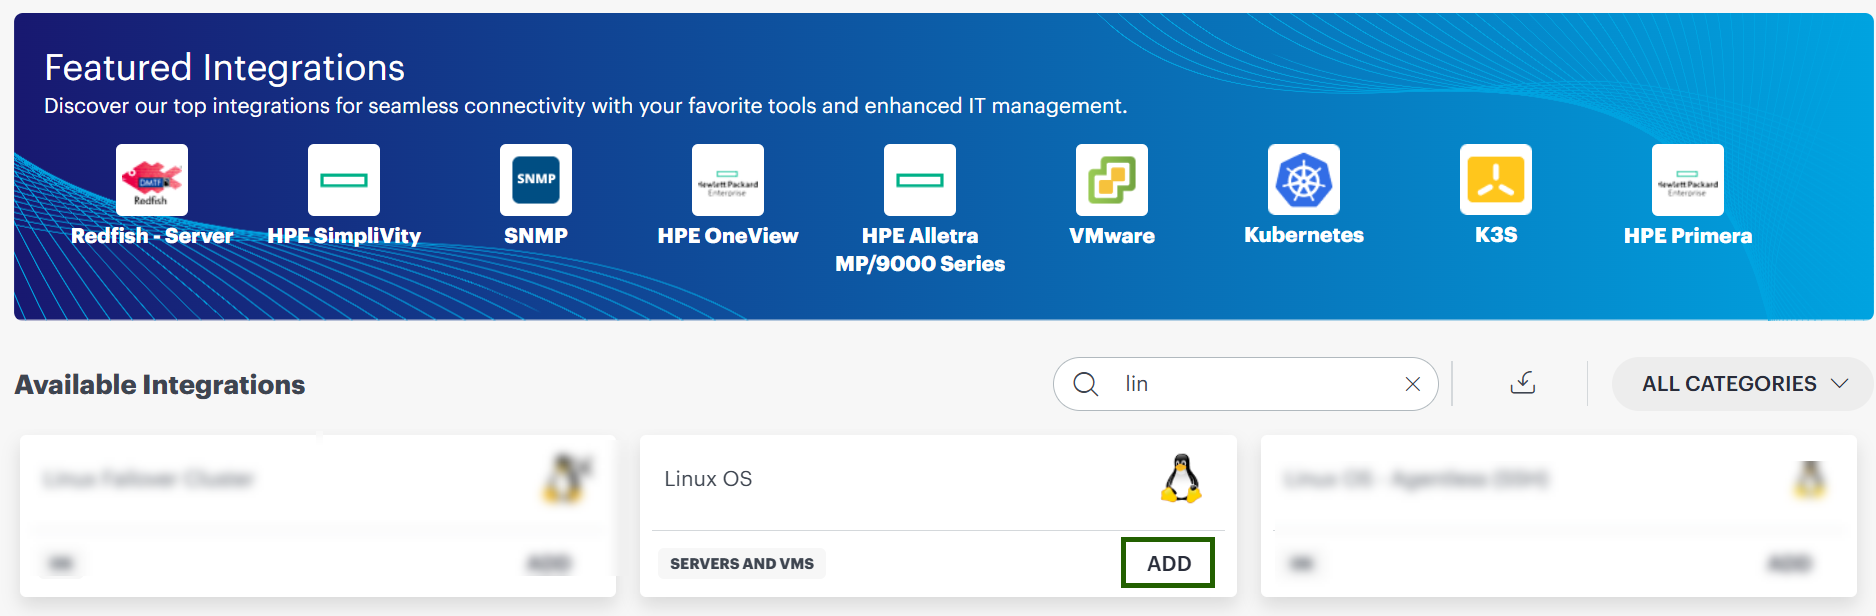
Click Integrations. The Installed Integrations screen is displayed with all the installed applications. Note: If you do not have any installed applications, you will be navigated to the Available Integrations page with all the available applications.
Click + ADD on the Installed Integrations page. It will redirect to the Available Integrations page.
Search for the integration (Microsoft Windows OS) either by entering the name of the integration in the search bar or by selecting the category (Servers and VMs) from the All Categories dropdown list.
Click ADD on the Linux OS tile. The Install Windows Agent page appears.
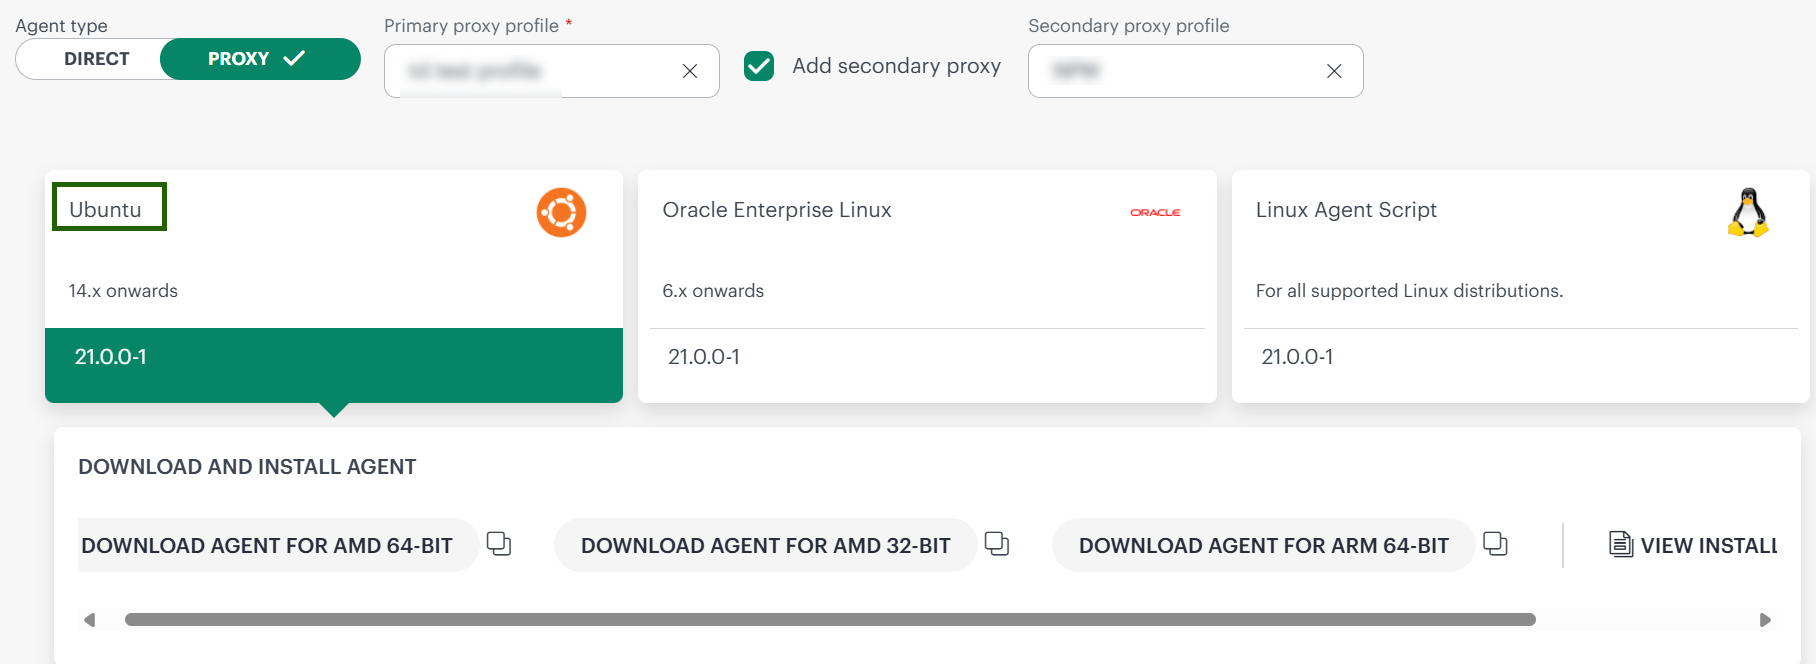
Select your agent connection type and platform to download and install agent on the machines you want to manage.
Note: Do not modify the file name of the Agent installer during the installation. Agent installs in silent mode and does not require a reboot.
If you selected Agent Type as Direct, then
Click on Ubuntu widget and then click downloaded option available, you have to choose from following:
AMD 64 Bit
AMD 32 Bit
ARM 64 Bit
You can also copy SHA-256 checksum to dwonload the agent.
You can refer the instruction page to see the downloadable steps (optional).
If you selected Agent Type as Proxy, then
From the Primary proxy profile section, select the primary proxy profile.
To include the secondary proxy profile, enable the “Add Secondary Proxy” checkbox. (Optional)
Once enabled, select the secondary proxy profile from the dropdown list.
Click on Ubuntu widget and then click downloaded option available, you have to choose from following:
AMD 64 Bit
AMD 32 Bit
ARM 64 Bit
You can also copy SHA-256 checksum to dwonload the agent.
You can refer the instruction page to see the downloadable steps (optional).Note: Make sure that you verify the SHA-256 checksum of the downloaded file.
The file is downloaded and saved in your local system.