This page provides detailed, step-by-step instructions on how to install the MicroK8s agent within a custom namespace.
Step 1: Prepare Your Environment
- Make sure you have access to a Kubernetes cluster.
- Ensure you have the necessary permissions to create namespaces and deploy resources within them.
Step 2: Create a Custom Namespace
- Use the following command to create a new namespace.
microk8s kubectl create ns {namespace-name}Step 3: Install the Microk8s Integration
If you have already installed Microk8s integration, skip this step and proceed to the below. Otherwise. for installing the Microk8s integration.
Step 4: Configure the Integration
- Create a YAML file within your cluster. Name it
agent.yaml. - Paste the configuration content copied from the portal into the
agent.yamlfile. - Replace all instances of
namespace: OpsRamp-agentwith the name of the newly created namespace. - If the namespace already exists, remove the section in the YAML file responsible for creating the namespace.Example of the edited YAML file:
apiVersion: v1
kind: Namespace
metadata:
  name: monitoring

---
# Your other configurations here with namespace replaced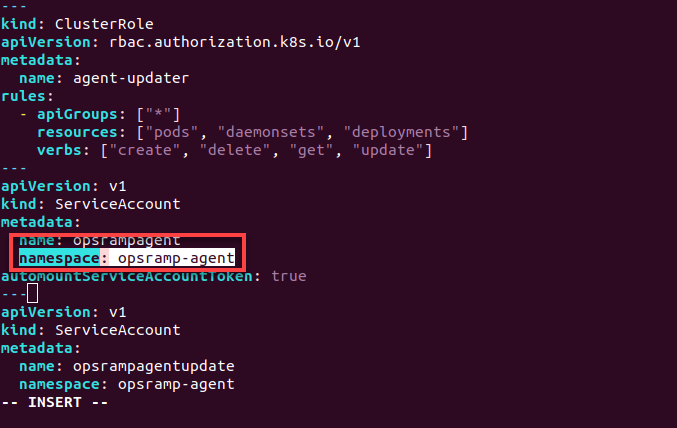
- Following is the example of the ServiceAccount namespace:
- ServiceAccount
- ClusterRoleBinding
- DaemonSet
- Deployment
- ConfigMap in OpsRamp Agent YAML
- Apply the edited configuration using the following command.
microk8s kubectl apply -f agent.yaml - Verify the installation status of the agent within the namespace by running the following command.
microk8s kubectl get pods -n monitoring
Step 5: Check the Status of Namespace in OpsRamp
- Navigate to Infrastructure > Resources.
- In the left side of the page, click Kubernetes to expand it.
- Expand the Nodes and click Container.
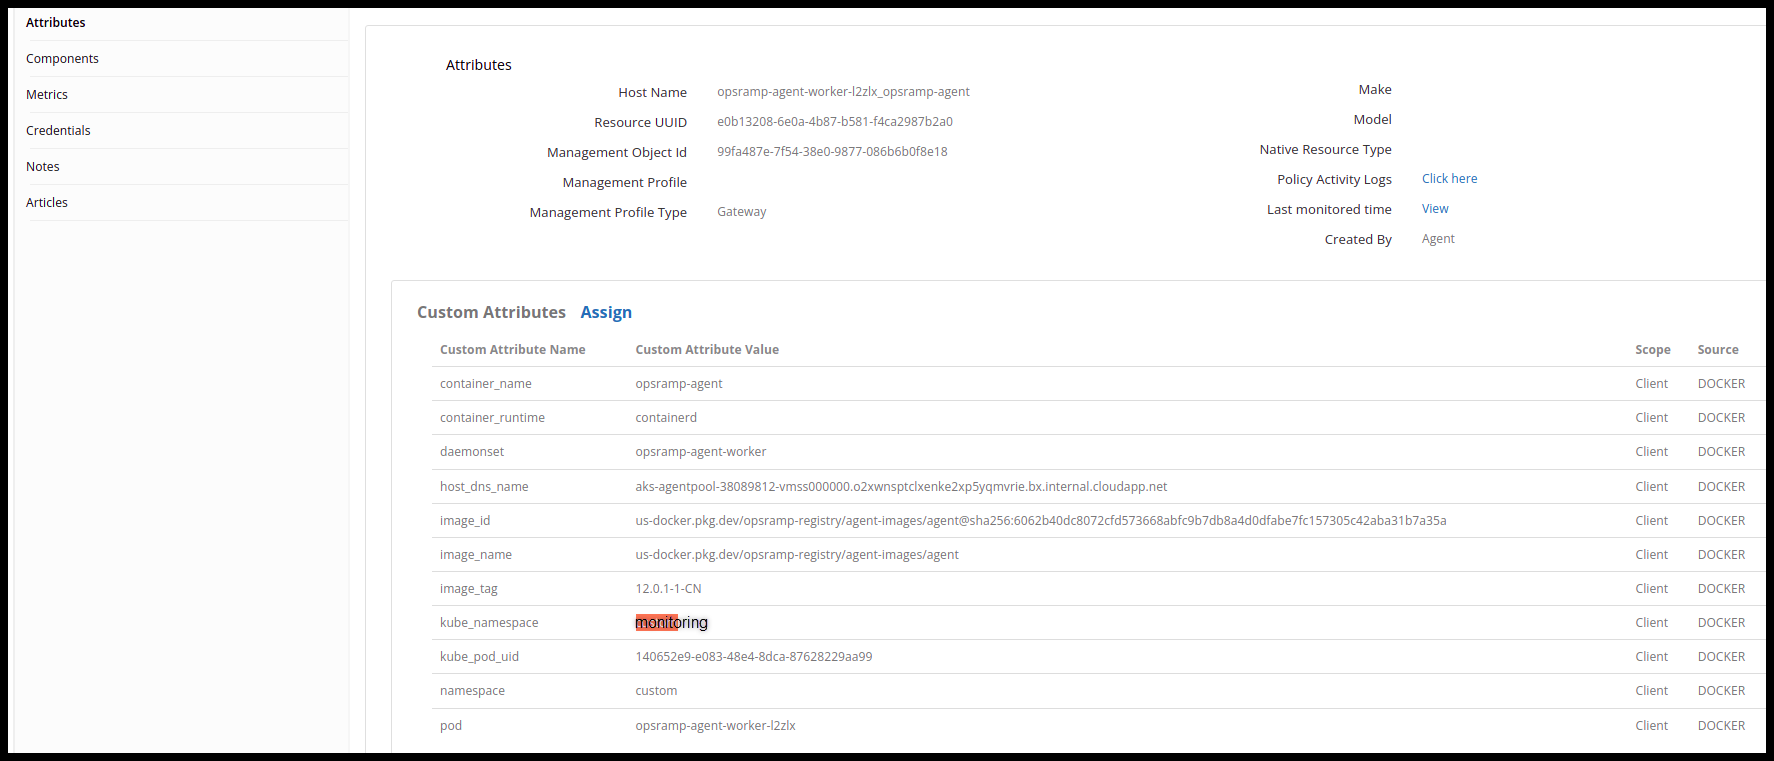
- Under Attributes, you can view the status of your newly created namespace.
OpsRamp Agent yaml
| Default yaml we get from portal | Changes that are to be done to install in a different namespace |
|---|---|
| |