Create a Schedule Tile
From Dashboard > Dashboard 2.0, create a new dashboard or select from an existing dashboard collection.
See Create Dashboards to learn about creating dashboards.
Click CREATE TILE or + from the toolbar.
In the ADD TILE screen that appears, select Schedule.
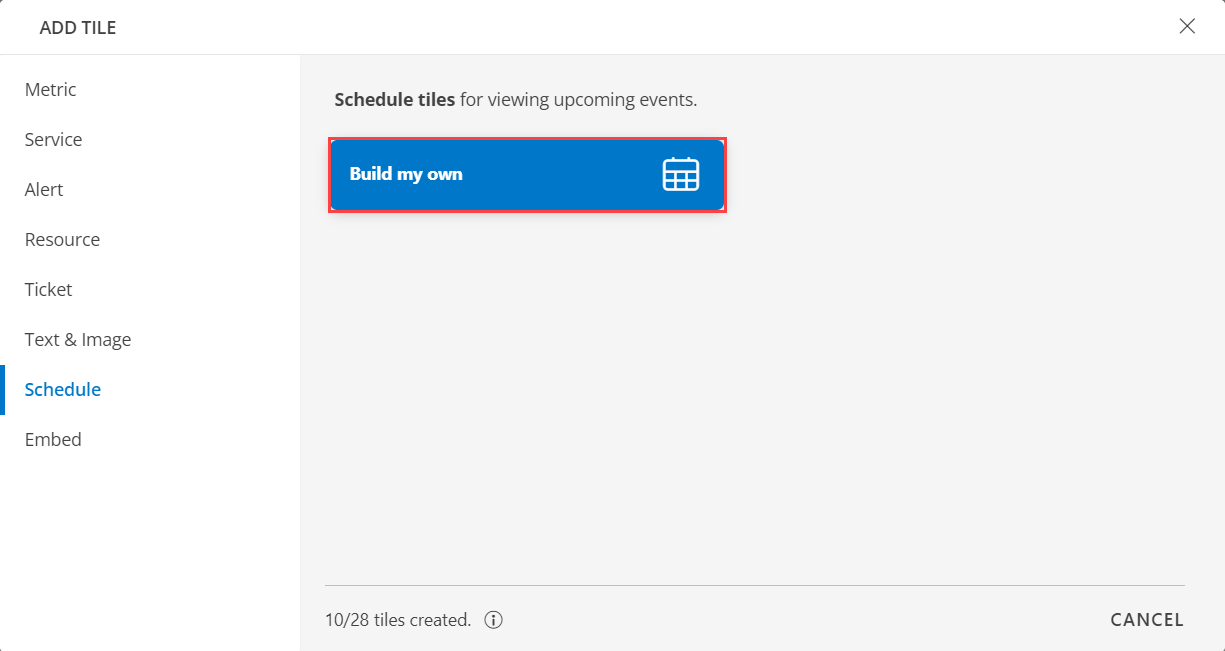
The following screen is displayed:

- Select one of the following:
| Tile Options | Functionality |
|---|---|
| Build my own | Schedule a tile to view upcoming events. |
Build My Own
- Select the Build my own tab. This enables you to create a custom tile.
- The VISUALISATION page appears
- TILE
| Label Name | Description |
|---|---|
| Background Color | Select the background color, enable or disable the background color selecting the checkbox. Note: By default the Background Color is enabled. |
- DISPLAY:
| Functionality | Description |
|---|---|
| Month | Choose the color and size. |
| Day | Choose the color and size. |
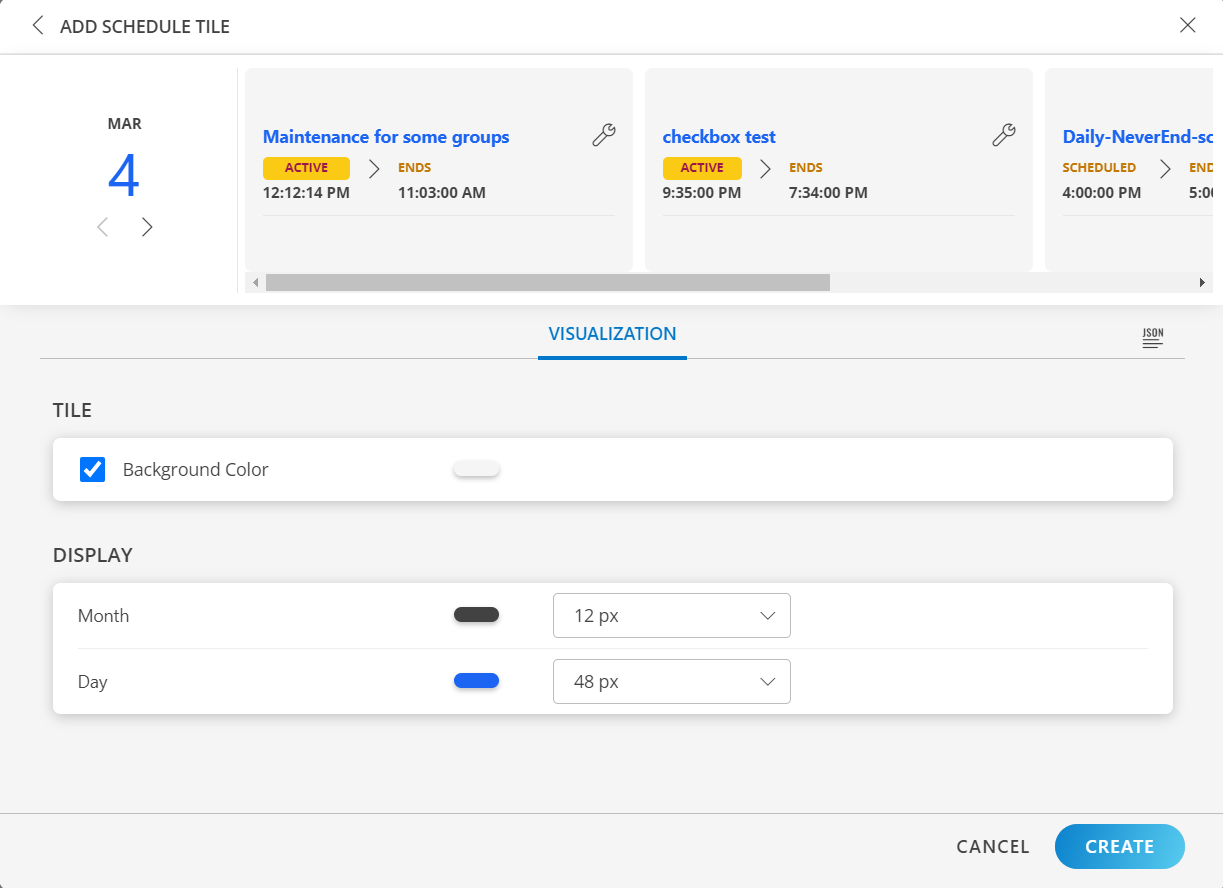
- Click Create.
The Schedule tile is created and displayed on the main dashboard page.